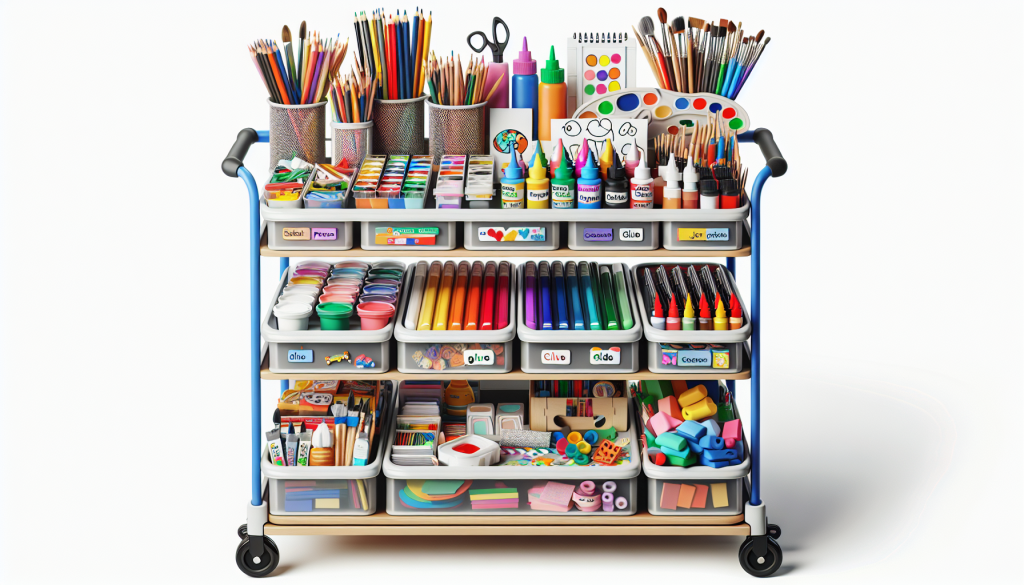
My favorite gift I gave my children one year was a fully stocked art cart. I wanted them to be able to create and take their supplies from room to room. They were so excited! Here are some tips for stocking your own art cart. Organizing art supplies onto a cart can make them easily accessible and portable for children to use whenever inspiration strikes. Here’s a list of supplies you might consider including on an art cart, along with tips on how to organize them effectively:
1. Art Supplies:
- Drawing Materials:
- Paper: Different sizes and types (sketch paper, construction paper, watercolor paper).
- Pencils: Regular pencils, colored pencils, and erasers.
- Markers: Washable markers in various colors.
- Crayons: Regular and jumbo-sized crayons.
- Painting Materials:
- Watercolor Paints: Palette sets or watercolor pans.
- Paintbrushes: Assorted sizes and shapes suitable for different techniques.
- Tempera Paints: Non-toxic, washable tempera paints in bottles or jars.
- Paint Palettes: Plastic or disposable palettes for mixing colors.
- Modeling and Sculpting Materials:
- Modeling Clay: Non-drying or air-drying clay in assorted colors.
- Clay Tools: Plastic or wooden tools for sculpting and shaping clay.
- Craft Supplies:
- Glue: Non-toxic white glue or glue sticks.
- Scissors: Child-safe scissors with rounded tips.
- Tape: Masking tape or colorful washi tape.
- Stickers: Assorted stickers for decorating artwork.
- Extras:
- Stencils: Plastic or cardboard stencils with various shapes and designs.
- Sponges: Synthetic sponges for creating textures in painting.
- Brushes: Foam brushes for applying paint and glue.
2. Organizational Tips:
- Categorize Supplies: Group similar items together, such as all drawing materials in one section, painting supplies in another, and craft materials in a separate area.
- Use Containers: Utilize bins, baskets, or caddies to store and organize smaller items like pencils, markers, and paintbrushes. Clear containers can help children easily see what’s inside.
- Labeling: Consider labeling containers or drawers with words or pictures to help children identify and locate supplies independently.
- Accessibility: Place frequently used items within easy reach, while less commonly used supplies can be stored on lower shelves or in drawers.
- Compact Storage: Opt for collapsible or stackable storage solutions to maximize space and keep the cart tidy when not in use.
- Rotation: Periodically rotate and replenish art supplies to keep the cart fresh and exciting for children. This can also help spark new ideas and creativity.
3. Cart Selection:
- Choose a sturdy and lightweight cart with wheels for easy mobility around the room or space.
- Look for a cart with multiple tiers or shelves to accommodate different types of supplies and keep them organized.
- Consider carts with built-in storage features such as drawers, hooks, or hanging racks for added convenience.
By following these tips and customizing the setup to suit the preferences and needs of the children using the art cart, you can create a versatile and engaging art station that fosters creativity and exploration.

Leave a Reply